Monday, December 31, 2012

2013 Blog Resolutions

Hi everyone! 2012 has been a great year for me and for Cutie-cles, which has come further than I thought possible in a year. Last New Year's Eve, I wrote some blog resolutions to complete, now let's see if any of them happened.

"1. Reach 50 000 pageviews
2. Reach 300 lovely followers 
3. Make sure that every mani I post is of good quality, I really want to minimize tip wear, chips, and messy cuticles
4. Do a nail art challenge! The 30 days one seems super fun, but I don't know if I could keep up, especially during the busy semester..hmm..
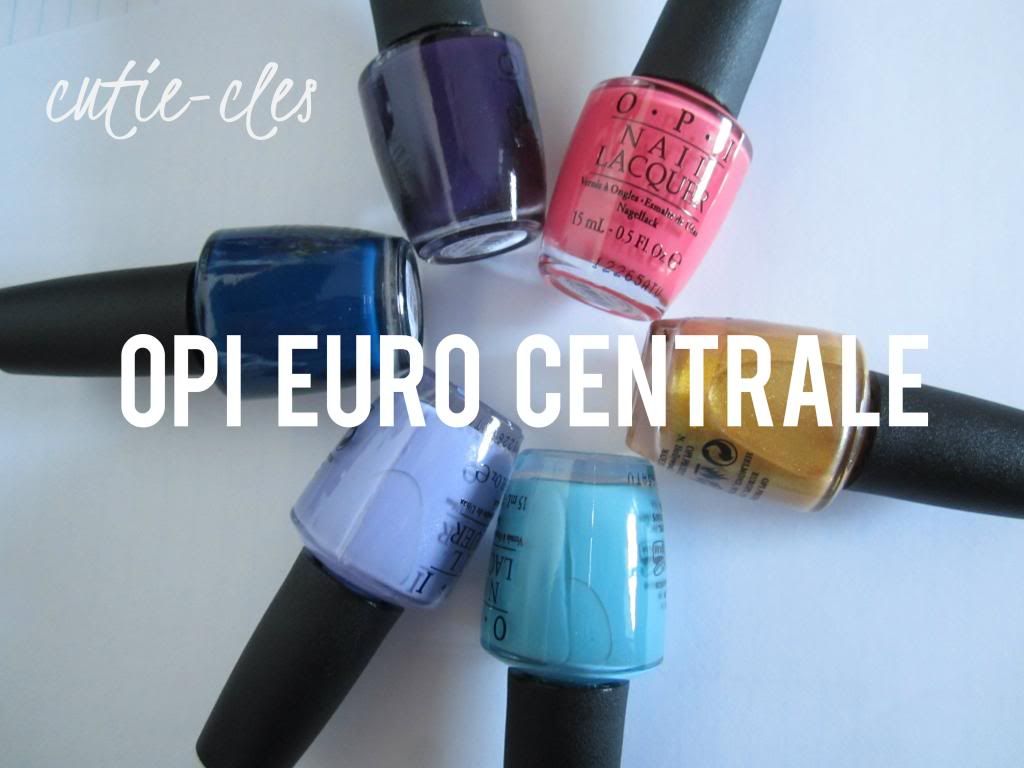
5. Swatch some more collections! Swatching the Nicki Minaj polishes was so much fun and having so many people tell me that my swatches helped them make a decision on which polishes from the collection to pick up felt really good!"

Number one and two were completed, number three was definitely improved, number four happened in August 2012, and number five was for the most part completed! I honestly never thought that the popularity of this blog would skyrocket as it has. Can you believe that exactly one year ago today we had 67 followers and 13 171 pageviews? 2012 has been a hugely successful year!

Now it's time to think about where I would like to go with the blog in the next year, and I have big big plans already. I want to keep expanding the blog and perhaps making it more professional, so here come the goals! For reference if I'm looking back at this on the eve of next New Year's, we are currently at 571 followers and 148 200 pageviews!

1. Reach 300 000 pageviews
2. Reach 900 lovely followers
3. Keep ensuring that my manicures are of excellent quality. In my opinion, constantly posting manicures that show tip wear, chips, and poor clean up shows that I don't care much about the blog, which isn't true at all. I value this blog so much which is why I strive for the highest quality of posts, but once in a while you'll have to cut me some slack because I'm far from perfect!
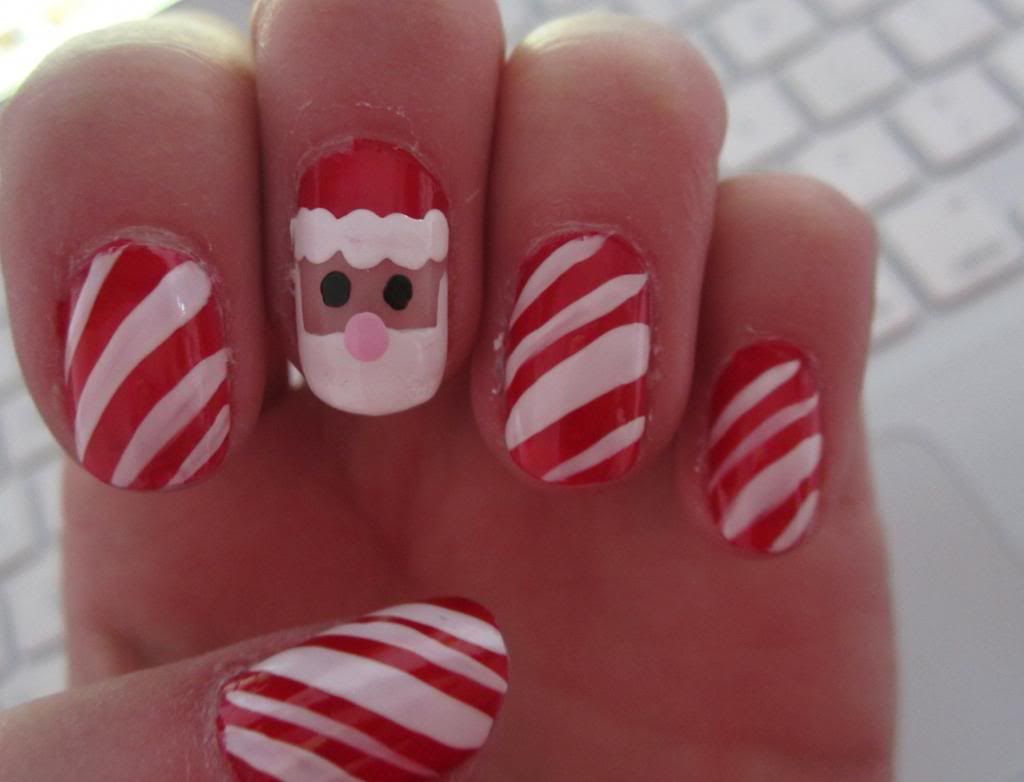
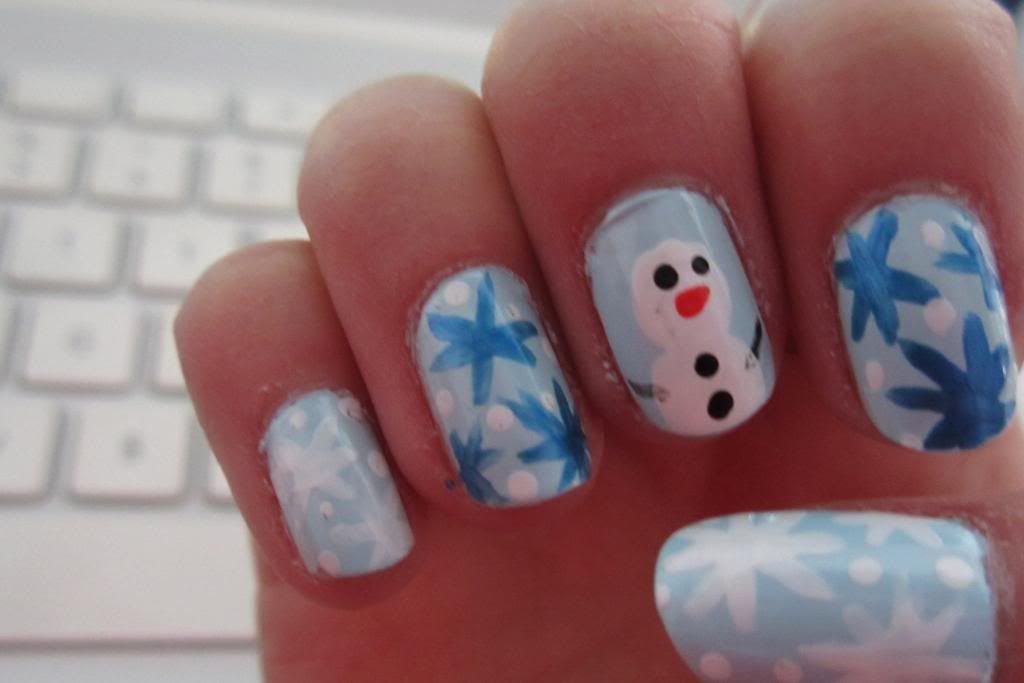
4. Participate in at least 2 nail art challenges. Doing the 31 day challenge last year was, well, extremely challenging. Looking back on it, it was also very rewarding and a lot of fun. I hope to participate in it again this coming August, and I would like to throw in another nail art challenge somewhere - theme still undecided.
5. Become more active on social media. I have set up a Facebook page for the blog, as well as a Pinterest page, but it's hard to find time to post in all these different places.

Those are goals that I hope to reach with the blog, but I also have some personal-yet-blog-related goals to share with you.

1. Use topcoat on every manicure! I get lazy with this but looking back on some of my nail art you can see textures and bumps and it's really off-putting. It doesn't necessarily have to be Seche Vite, because sometimes my manicures stay on for less than twelve hours, but some sort of topcoat is a necessity!
2. Buy my own domain. I love blogger's hosting system, so in all likelihood I would do it through them. I feel like it looks and sounds more professional than having a website with "blogspot" in the name, also it's easier to remember! Bonus!
3. Purchase my own business cards. So often I find myself explaining my blog to people and they seem so interested, but I doubt they remember the URL I rattle off at them to check it out. I think having my own set of business cards is the way to go.
4. Swatch an entire 8 or 12 piece collection. This is a personal goal because I see it as a great accomplishment to be considered a good enough blogger to be entrusted with swatching and reviewing a whole collection!


Thanks so much for reading, not only this post, but every time you visit my blog! I can't wait to have an even bigger and better 2013 with all of you, and new followers too. I hope you all have a very fun and very safe New Year's Eve, cheers!

xoxo, Nicole

Top Ten Manicures of 2012

Hi everyone! I wasn't originally planning on doing this, but seeing all the other blogger's round ups of their favourite manicures over the past year inspired me to do one myself.

Coming up in number ten is my faux Connect the Dots manicure. This was literally less than a week before all the Lynnderella drama started happening and I had been so desperate to get my hands on this polish that I was sick of waiting for my turn (as an M) on the Llarowe wishlist system, so I opted to make my own! I just used a dotting tool and tried to recreate the look of this gorgeous polish. I know this look isn't too beautiful on its own, but it sure was creative and it eventually led to me getting all the Lynnderellas I could possibly want! To check out this manicure that I did way back in February, click right here!
Popping in at number nine is the REAL Lynnderella Connect the Dots. After all the effort I went through to get my hands on this polish it definitely did not disappoint. I did this one over a gorgeous blue gradient and I loved this look so much. To see my post on the real Connect the Dots, you can click right here.
Holy crap, Lynnderellas are sweeping up another spot here in number 8! This manicure blew (blue!) me away because I never thought that I would love this Lynnderella so much. The addition of the OPI Man With the Golden Gun topcoat really makes this stand out. To check my original post on this out you can click this link here.

So, my Royal Copenhagen nails didn't go over as well as I expected with you guys, but I was in love with them. That's okay, maybe they're an acquired taste. If you want to check out this post I did just a couple days ago you can click here.

Wow, throwback! Not the best execution, but I can't get over the colour combination of these nails. I still love them. Maybe I should try it again. Here's a link!

Ugh, polka dots, bows, AND a gradient? Could this be any better? I used this to enter a nail art contest and I didn't win anything, but I was extremely proud. Check it out right over here!

Now we're getting into more recent manicures, number four is one that I did for the 31 Day Nail Art Challenge. I was so happy that my striping work with the patches was crisp and clean! This one is definitely worth a visit, which you can do right here.
Another one that I did this past summer that I'm very proud of. I saw this design in a newspaper and thought it was so elegant. You can visit the original post of this number three manicure right here.

Bleeding Hearts! I love these flowers just as much as I love this manicure. It took me quite a while but it was definitely worth it. To check this gorgeous manicure out you can visit the post right here!

Drumroll please for the number one manicure of the year - my tribal nails from the 31 Day Challenge! Everything about this manicure is perfection, the lines, the colour combination, just everything is great! Do you like this look as much as I do? Pay this post a visit right here!


Do you all agree with my choices? Did any make the list that you really didn't care for, or did I forget to mention some of your favourites?


Friday, December 28, 2012

OPI Oz The Great & Powerful First Look

Hi everyone! I know you all loved seeing the very first look of the OPI Euro Centrale collection a while back, in fact it has been one of the most popular posts of the year. As soon as I heard that OPI was doing their annual Soft Shades collection based around this upcoming blockbuster, I found some images online and compiled them into one picture for you. I haven't received an official press release yet, so this is purely based off things I've seen floating around on the internet. As soon as I have more information I'll update you.
It looks like OPI will release six new shades plus an addition to the popular Liquid Sand that debuted in the Mariah Carey collection. There are three neutrals and three glitters in this promising looking collection. Honestly, I think this collection is much more interesting than last year's New York City Ballet Soft Shades collection. I can't wait to play around with these glitters.

The names of the polishes shown are Don't Burst My Bubble!, Lights of Emerald City, I Theodora You, Which is Witch?, Glints of Glinda, When Monkeys Fly, and the Liquid Sand shade is called What Wizardry Is This?

What do you think after seeing a sneak peek of this collection? I am already really excited to see what it brings!

Thursday, December 27, 2012

Royal Copenhagen Nails

Hi everyone! How is everyone doing after the Christmas rush? I'm getting some quality time in with my family, since my boyfriend Dan is in Colombia and we won't even see each other before I leave back to school for the semester. The other day, Dan and I were at my sister's house whose husband is Danish and we got to talking about Royal Copenhagen. I decided to incorporate some of the designs on their Blue Fluted Mega series into my nail art!
The colours I used were OPI My Boyfriend Scales Walls as a base, and OPI Suzi Says Feng Shui. To be accurate I would've used a darker colour of blue, but I didn't really feel like it.

I really like the unconventional lines and angles that these plates have and I think they look fabulous on my nails!

I wore this manicure for quite a few days because it is simply so awesome! To check out these awesome (and way out of my price range) plates you can visit the Royal Copenhagen webshop right here!

Thanks so much for reading everyone!

Tuesday, December 25, 2012

Starbucks Christmas Cup Nails

Merry Christmas everyone! I hope you're all having a lovely day, whether you celebrate Christmas or any other holiday. I was inspired to do this manicure by the annual Starbucks red cups that they start using around Christmas time. This year's feature a bird and a snowman, and I finished the look off with snowflakes.
The background colour of this manicure is OPI The Thrill of Brazil, then the white parts are OPI My Boyfriend Scales Walls, the darker red is OPI Skyfall, the ornament and hat are OPI Nein! Nein! Nein! Ok Fine!, and the gold is Quo by ORLY Filthy Rich.

I'm really excited about these nails, they're my favourite Christmas nails I've done this year! I won't keep you reading long because I'm off to spend some time with my family!
Merry Christmas to all, and to all a good night!

Monday, December 24, 2012

Christmas Tree Nails

Merry Christmas Eve, everyone! Today I have some Christmas tree nail art to show you. I used a dotting tool to (messily) make the trees, then decorated them with glequins and glircles from Born Pretty Store.
To create this look I used two Christmas polishes from China Glaze's Holiday collection from last year - 2011. The two colours I used were Poinsettia and Holly-Day.

I'm not too excited about these, they're pretty mediocre, but I do like the idea of using glircles as ornaments on a Christmas tree.

Make sure to check back tomorrow for my last Christmas nail look!

Sunday, December 23, 2012

OPI Euro Centrale - Swatches & Review

The moment you've all been waiting for... Finally some swatches of the OPI Euro Centrale polishes I showed you in my previous post here!

Euro Centrale is due to come out for Spring/Summer of 2013, and I do think this collection truly epitomizes a European getaway in the summer. The colors are fresh and bright, but not too flashy at the same time. It really does remind me of my vacation that I had this past summer, where everywhere I went I saw beautiful and bright scenery, fashion-forward people, and just that European flare. 

This was such a hyped collection, and rightfully so. These are some nice polishes people! Pics after the jump :)


Born Pretty Store Review - Round Loose Glitter

Hi everyone! Today I have something really exciting to share with you, my very first review for Born Pretty Store. I've been buying from BPS for a year and a bit now and I have always been amazed with the quality and price of the nail art equipment I've purchased, so when they approached me to do a review I had no doubts at all! I chose to write about the loose round glitters. These are a lot like glequins, which you have seen in my nail art previously, but instead of being small hexagons they are small circles! For $7.60 + free shipping you get twelve little pots of glitter that hold a surprising amount! Read on with this review because at the end of the post you will find a 10% coupon code for my readers!


I chose to do three different nail art looks to show off this glitter, but before we get started I propose we christen these with an easy to remember name. If glittery-hex-sequins are called glequins, how about we call these glircles for glitter circles!
For this look I used the iridescent emerald glircles on top of OPI Nein! Nein! Nein! Ok, Fine! from the Germany collection. This deep gray really brings out the colour of the glircles, which as you will soon see can get lost over a lighter colour. 

I liked how simple these were but also how eye catching. The glircles seem to change colour depending on what light they're in from a deep green to a lighter one.

The second, and least favourite look of mine, was an attempt at a glircle gradient. I started with the red ones which blended into orange, then orange blending into yellow, yellow into green and so forth. As you can see, you can barely tell the difference between the yellow, green, and blue when they're layered over a light colour like OPI Skull & Glossbones. 

Unfortunately I'm not crazy over this look, but I bet over a darker colour which would show off the true iridescence of the glircles would look stunning!

This is my favourite manicure that I did using the Born Pretty Store glircles. I used the holographic gold ones, as well as OPI A Grape Fit! and Zoya Megan. I loooove how pretty this is!


There really are endless possibilities with these glircles and nail art. For my next project I think I'll try to find a chic way to mix glequins and glircles in a nail art design - do you have any ideas?
I was also sent a little ring to review or to wear in my swatch pictures, but the ring isn't really my style.


If you're interested in visiting the Born Pretty Store, you can follow this link here: http://www.bornprettystore.com/ and to take you directly to the glircles just click right here! Now as promised, the generous people at Born Pretty Store have offered a 10% discount to all Cutie-cles readers on any purchase from their website with the code BQL91. I've put this in the sidebar of my blog so that you can easily find the code whenever you need to use it!


Saturday, December 22, 2012

Inspired by Dressed Up Nails

So, Whitney from Dressed Up Nails has really been making a splash in the Nail Art community lately with all the stellar manicures she's been posting. We're both in a polish-loving facebook group and every time she posts a new picture I can hardly stop my jealousy at her freehand talent! Today I decided to try to recreate a lovely Christmas wrapping paper-esque manicure she did which you can check out here. I decided to mix up the colour scheme a bit and went for teal and gold using OPI Ski Teal We Drop and Quo by ORLY Filthy Rich.
Now if you're wondering what happened to my pinky, I decided that I was probably better at freehanding than at using striping tape. Turns out I was wrong.

Here's a nicer look of the three nails that turned out nicely. I think I'll leave the elaborate tape manis to Whitney because this, although gorgeous, was not worth the time and effort!

Sunday, December 16, 2012

Ho Ho Ho! Season's Greetings!

Happy Holidays everyone! Today I have some festive nail art for you that will be sure to make you smile :)

As you can see, I have a santa and candy cane stripes on the left hand. On the right, there is a snowman and some snowflakes to match. I really loved this manicure and I hope you do as well! (Please excuse all my peely cuticles, it's really really dry and no moisturizer is helping!) 


More pics after the jump!

Saturday, December 15, 2012

Early Christmas Present - Bottle Shots of OPI Euro Centrale

Deck the halls with boughs of pretty polishes...

L-R: Vant to Bite my Neck?, You're Such a BudaPest, I Saw...U Saw...We Saw...Warsaw, Can't Find my Czechbook!, OY-Another Polish Joke!, Suzi's Hungary AGAIN!


Fa la la la l a, la la la la

The other day, I was very generously sent 6 polishes from the coveted Euro Centrale collection by OPI!
I'll definitely be swatching these every time I see some sunlight, so please stay tuned because this is a collection you do not want to miss!

Classic meets contemporary with Euro Centrale by OPI for Spring/Summer 2013. Celebrating a region where history meets modern design, the collection’s twelve new nail lacquers offer a mixture of glamorous metallic hues; playful bright shades in periwinkle, aqua and pink; and creamy blues in indigo, midnight and aubergine.
“Czech Republic, Hungary, Poland and Romania make up an exciting new fashion hotspot,” explains Suzi Weiss-Fischmann, OPI Executive VP & Artistic Director.  “When visiting these countries, you’ll view Gothic churches alongside vibrant graffiti murals, blending two very different aesthetics. This fusion of old and new was also seen in runway looks during New York Fashion Week, where classic styles were reinvented with modern silhouettes and patterns.
Euro Centrale boasts a wide variety of shades, ranging from pale nude to deep blue – and featuring everything from shimmering copper to aqua in between!,” continues Weiss-Fischmann. “Whether you’re looking to spice up a black and white print, or add neutrality to a vivid brocade, these lacquers are designed to accessorize spring’s hottest looks.”


Thursday, December 13, 2012

OPI Sprung vs. OPI Warm & Fozzie

Hi everyone! If you read my swatch and review post of part of the Mariah Carey collection, you'll know that upon seeing OPI Sprung I was immediately reminded of OPI Warm & Fozzie from last year's Muppet themed holiday collection. Let's check out some comparison shots of the two!
As you can see these are plainly NOT dupes! I used two coats of Warm & Fozzie to compare with three thin coats of OPI Sprung. The polish from the Mariah Carey collection is much more copper-red toned, whereas the Muppets polish leans brown. This glass-flecked finish is so gorgeous!

Here's a close up for you! One thing I noticed between the two is that Warm & Fozzie appears to be more sparkly.

Here you can see these pretty polishes in the shade, what do you think?

Honestly, these polishes are so different that if this is your type of colour it's definitely worth owning both. These aren't very similar hue-wise, but the finish is gorgeous and is very similar - OPI do gorgeous glass flecks. 

Will you be picking up Sprung now that you know that it's not a dupe for Warm & Fozzie? 

Tuesday, December 11, 2012

Mariah Carey for OPI - Swatches & Review

Hi everyone! Sorry for my recent disappearance, I've been battling a killer cold for going on eight days now, not to mention it's finals time! Fortunately, I think I have something to show you today that will make up for a couple days of inactivity - swatches of the Mariah Carey for OPI collection!


I've never really been a huge Mariah Carey fan, I appreciate her amazing voice but her music hasn't appealed to me. When I saw promo images of this collection, I'll admit that it didn't appeal much to me either. Let's get on with the swatches and see if my opinion has changed since seeing them in person!

First up is OPI A Butterfly Moment. This shade is a pretty champagne pink neutral with stunning gold shimmer. When I opened my package I honestly thought "please tell me that frosty mess of a light pink isn't in here" and I will gladly admit right now that I am one hundred percent eating my words. I love this shade.

A Butterfly Moment is what I could only describe as a glamorous neutral. This shade is completely office appropriate but when you see it in the light it has a surprising gold shimmer that really lights it up.

I really hate how this looks in the bottle but I can't stress enough how much I love it on my nails. It reminds me of a very pretty lipgloss that was made into a nail polish colour. I did have to use three coats but I think it is mainly do to some awful blue stains on a couple of my nails that refuse to be hidden. 

Here you can see this in the shade, it's a very subtle, pretty pink. 

The next colour is OPI Sprung which I would call a duochrome glass fleck in a copper-rose-gold shade. When I saw this I said to myself, "how could they do this? They are simply putting OPI Warm and Fozzie in a new bottle under a new name!" After doing a comparison of the two I can tell you that this is definitely not the case, which you can see for yourselves in tomorrow's post.

The formula on this was very nice, just like what I've come to expect from OPI glass flecks. I got near full coverage with two coats and only used a third coat in places that I needed to cover up bald spots. 

This colour, while perfect for the holidays, doesn't make much sense to me for a January release. I guess it is pretty universally flattering and not all nail polishes wearers are as wild as I am, but to me it seems a little tame.

The longer I wore OPI Sprung, the more I liked it. It is very elegant and all the different colours in it make it appear multidimensional. 

Switching gears now over to the revolutionary Liquid Sand shades that are coming out with this Mariah Carey collection. This red is called OPI The Impossible and above I have used two coats. One thing to note is that the star glitters are pretty difficult to get onto your nails, I had to do quite a bit of fishing around.

I'm not crazy about this shade, unfortunately. You do have to wait quite a bit for these liquid sand polishes to dry completely, even after about ten minutes you can tell that they're not completely dry and therefore haven't reached their sandy-ness potential. Even though I don't much care for the colour of The Impossible, I was pleasantly surprised with the Liquid Sand concept. It's not quite as rough as I had imagined and from some angles it is a really cool effect. 

To spruce things up, I used two layers of topcoat to bring out the glitter in OPI The Impossible. It looks super squishy and jelly - what do you think of this effect?

I don't think I've ever seen an OPI polish with star glitters, have you?


Here is a bottle shot of OPI The Impossible so you can get an idea of the different glitters.

Next we have my second favourite polish from the collection, OPI Can't Let Go. I'm begging you people, please don't give up on the Liquid Sand concept because this lacquer proves that it CAN work and it CAN look nice! I used two coats here, this one was much more opaque than The Impossible. 

It's not even as gritty as I was expecting, I am officially converted into a Liquid Sand lover. Well, maybe not quite, but I do love the effect of this polish. After trying The Impossible first I thought that the concept was dumb but I really think that Can't Let Go hit the ball out of the park.

This reminds me of one of the old OPI Suedes, but with more glitter!

I know you're probably dying to see it with topcoat so here you go - two thick coats later. I really like this polish both ways, Liquid Sand or with added topcoat. It looks kind of jelly-ish and the glitter isn't too overwhelming.

How do you prefer this polish - sandy or glossy? I want to know! I think maybe I prefer it sandy, it really is a neat concept.

What do you think of the three colours that I've swatched for you today? Are there any that you are going to be picking up? Even though some of the colours themselves aren't my favourite, they had really great formulas and if they appeal to you they are absolutely worth picking up!

These products were generously sent to me for my honest review!